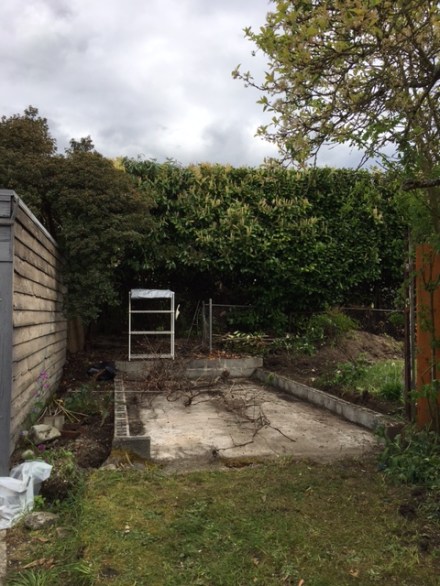
We’ve been waiting six years to see this thing go.

It’s been understood that we can’t store anything in there that we don’t want rat shit on. Or hobo spiders. Needless to say, it hasn’t been a very loved part of our family. A few recent motivations to tackle this project:
- I have some time on my hands to dream.
- Not enough time though, to make it to my favorite gym anymore. Cappy’s permanently ruined me for regular gyms, so my new dream is to have a little one-person boxing gym at home. I can probably fit this into a shed!
- We’re considering a remodel in the house, and possibly turning our basement into a rentable unit. Should this happen, it would be nice to have some clean storage space available.
- Mama worries about the hobo spiders multiplying in the shed and invading our house and going after our family. She’s also not a fan of rat shit.
First step, starting in April 2017. Design something that seems cool:

Next, learn how to get a permit. I had more than one person tell me that it would likely not get approved the first time, but I can’t be going downtown over and over again when I’ve got papa duties. All this research and planning took close to a month, since Papaya’s nap time was my only window to work within. This project also took away from blogging time.
I learned what a site plan is and created one:

I meticulously created a framing plan:

16″ on center and all that. Once I had it all together, I went down to the permitting office and with only one extra note being added about how far an eave can go out towards the property line, I left with an approved permit! And was $456 poorer!
Then I came up with a brilliant plan: find someone that can help build this thing. The amount of time I actually have without any child care responsibilities has me completing this project sometime next year on my own. I got lucky and found someone who was willing to help, although he too is a dad and also has a full time job. Still, better than just me. I can do some stuff during the week, and when it comes to things like framing, I can coordinate spending targeted weekend time to make progress.
Post demo, April 30th:
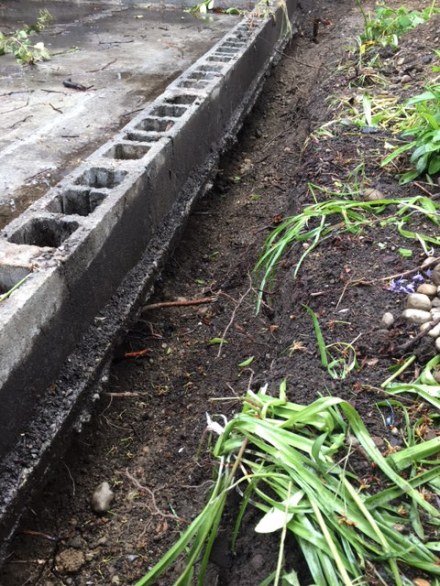
First hiccup:

What you see there is a slab that’s too thin for what I’m building, so what we need is a footing for extra support. Shite. Unplanned digging and extra concrete work is added. My first day of digging was done without gloves and blisters came next. Had to dig all around the perimeter to make space for pouring concrete:
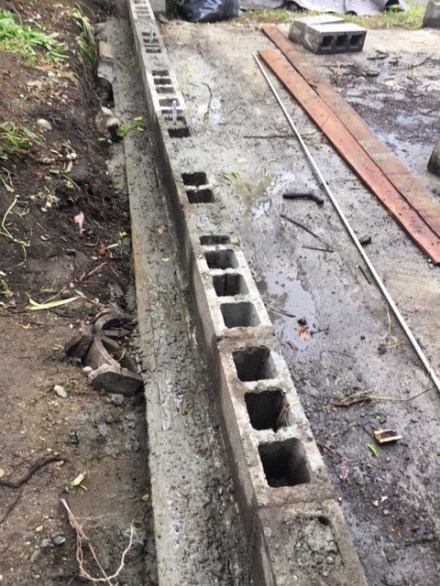
Then we poured concrete:
Time to start framing. It was around this time that it became really hard to free myself for long enough periods of time to be useful. Had to start relying more on Andrew, my trusty carpenter, to do stuff.
Also had to bring in a site supervisor to ensure quality:
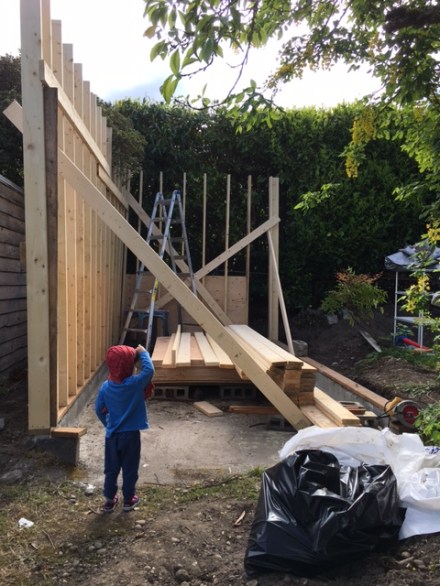
Framing progress is very exciting to see! May 30th:

I wasn’t sure if the wife fully understood how tall this thing was going to be so this step had me a bit nervous, but all was good. Ready for roofing to get some rain protection:

Windows go in as we deal with the smokiest summer of my life:
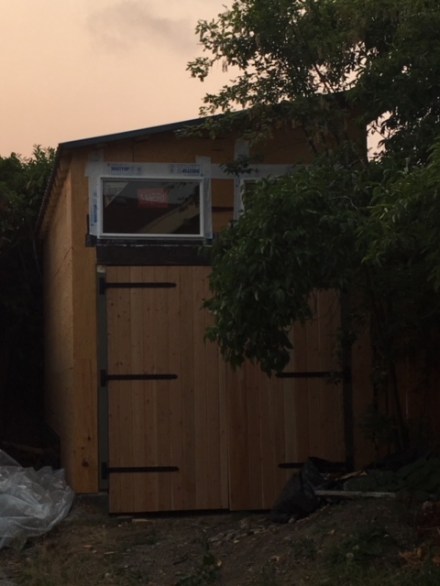
I decided to have custom doors built because Andrew is highly capable. It would ensure strength, visual appeal, and ability to fit my specific plans. It’s also worth noting here that while framing is a fast way to make lots of progress, it’s easy to get a false sense of nearing completion. Demolition happened in April and it’s now August. I have some time during the week when Lala watches Papaya, but not so much on the weekend when Andrew is here (he typically comes one day a week on the weekend). There’s not much I can do on my own for a few hours during the week so I’ve been relying mostly on him now.
I did however, make time to put up wallboard for fireproofing:

Siding was an exciting step, now late September:

I’m genuinely surprised that this project has taken so long, but I’ve been working a lot less myself than originally planned. Now with paintable surfaces (my specialty) and clear need to speed things up, I start planning on spending more time working. Starting to ask Mama to watch both kids here and there so I can work. My increased involvement also gets the attention of the local inspector again:

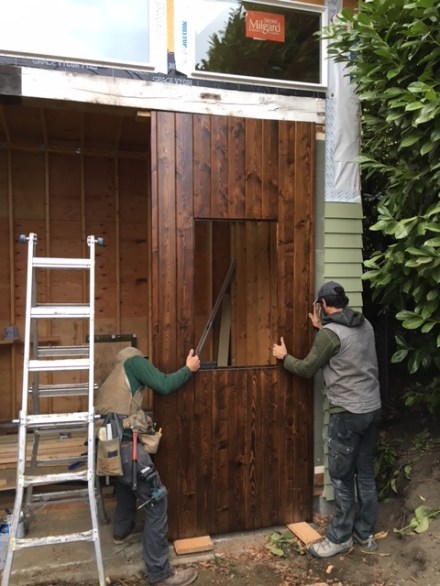
I also stained and clear coated multiple layers on my impressive doors. At the suggestion of the wife, windows will be going into the south facing doors. Good call:
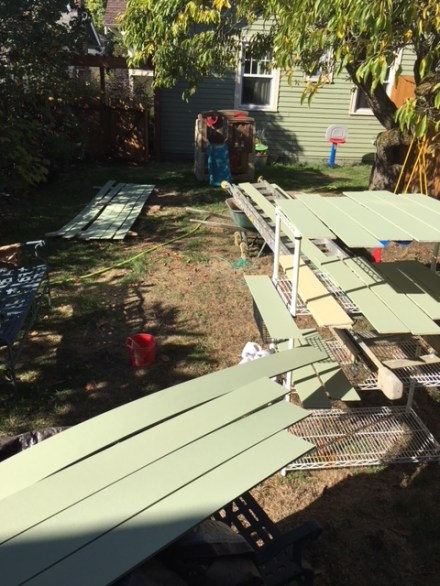
Now mid October (!!!) and it’s a race against time and weather. I scramble to prepaint the remaining siding before installation. Faster this way and I’ll do the second coat once in place.
Electricity is next! I get out the shovel and pick axe and do some work:

I hired an electrician to do the install. Now we have power and lighting!


The family gets to work, backfilling the ditch:
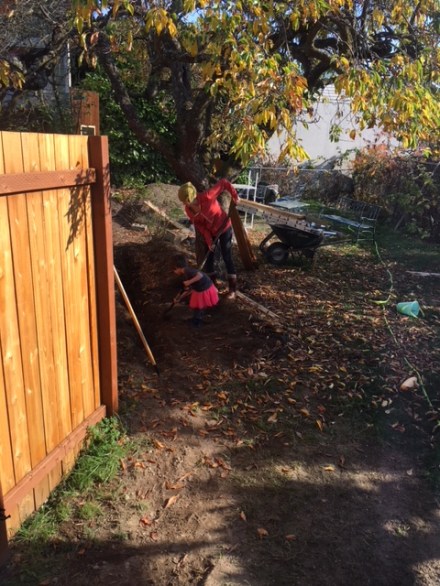
The boy loves construction sites:

Now early November and I’m anxious. Lots of little details to work on. Final adjustments of doors to make sure they close properly. Caulking/sanding/priming/painting around every little trim piece, and as more little trim pieces get added. The drying time between those things also pushes it all out. The structure will be fully weather proof once the doors are secured. I do still need to prime and paint the soffits, but that’s starting to look unlikely before winter unless timing lines up for when I can be available AND have the weather cooperate. Once that gets done I can start thinking about remaining interior stuff like insulation and drywall. The northwest corner leaks when in rains (as it always has) so I need to dig around the foundation again to apply that black tar-like stuff to fix it once and for all.
Exterior nearing completion:

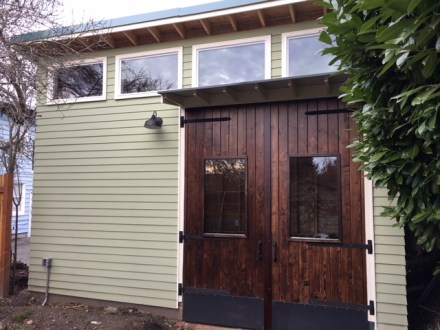
Let’s talk about these doors for a second. Even more than my lack of hours in the early stages, the doors are the single largest expense by far. Four sets of large custom doors, it turns out, is quite the luxurious splurge. This is when I felt compelled to start making regular time to work. If you think about both sides of the doors, there are eight large surfaces that require sanding, staining, a coat of plolyurethane, sanding, a second coat of polyurethane, sanding, and a third coat of polyurethane. If I knew how much time and money these things were going to require from the very beginning, I’m not sure I would’ve gone for it. But they’re here now, they’re real, and they’re spectacular.
Starting to wonder if the boy will be a man before this thing is complete:

Insulation time! Thanks to the wife for allowing me to spend more and more time on this. Now December, I’ve set a deadline of January 1st to make it drywall ready. Did this by lining up a drywall guy to start on the 2nd. I can do drywall myself but it’s labor intensive, tedious, and relatively inexpensive to hire out. So now I’m spending all my extra time doing insulation. Walls were easy:

Ceilings were not. To hit the required R-value, I’m using 4.5″ thick rigid foam that’s surprisingly difficult to work with. It contains fiberglass so it’s also extremely unpleasant to work with:

The ceiling took about twenty hours of no fun at all. Then came time to wrap it all up, literally. Reflective bubble wrap to seal it all up. Night time work becoming very commonplace around here:
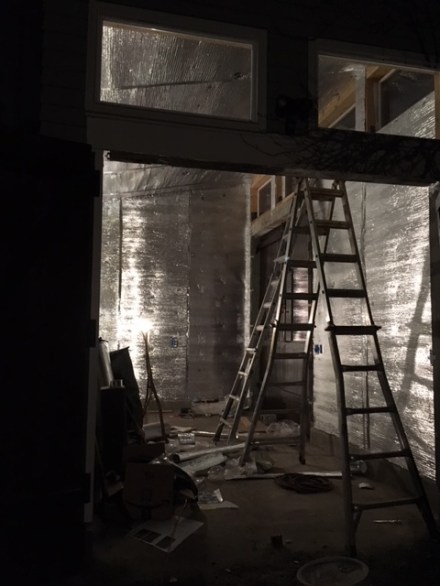
It’s now January 2nd and all is ready for drywall!
Then boom!
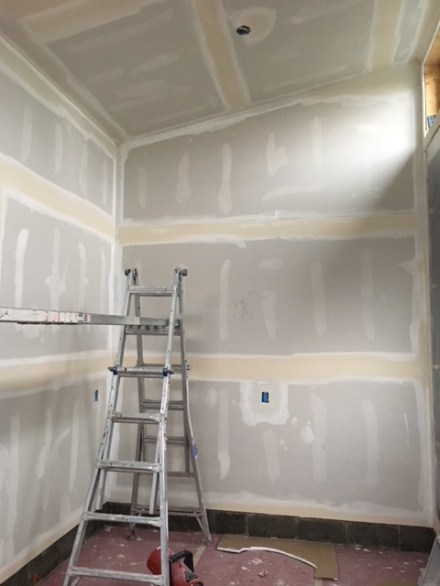
Happens so fast when you hire a team. They will be back for two more rounds of mud and a coat of primer.
We’re going to call this the completion of phase one. Phase two will realize the dream that started so long ago.
